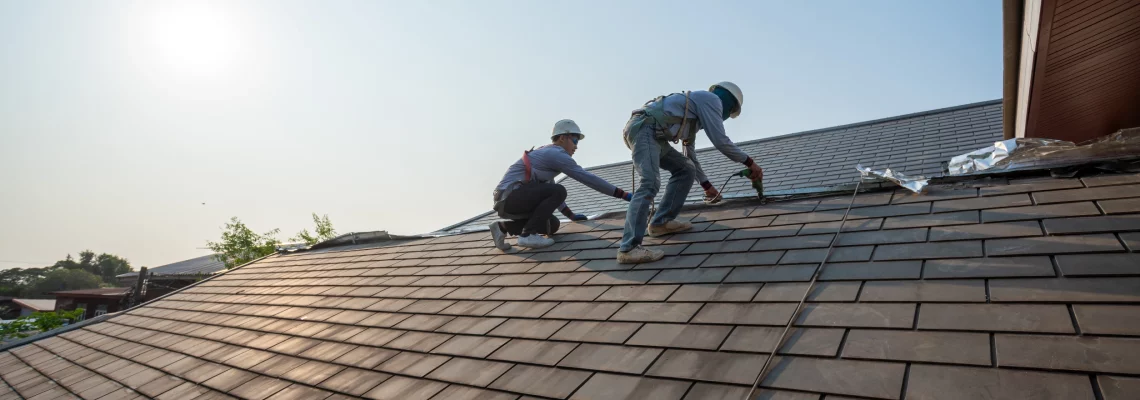
Replacing a roof is a significant investment that can enhance a home’s curb appeal, structural integrity, and value. However, the process can be daunting for homeowners unfamiliar with the steps involved. This guide breaks down the roof replacement process from start to finish, highlighting what homeowners can expect at each stage. Understanding these steps can make the process smoother and help you feel confident in your investment.
Step 1: Initial Roof Assessment
The first step in any roof replacement project is a comprehensive inspection. An experienced roofing professional will assess the condition of your current roof to determine the scope of the replacement. This inspection involves examining shingles, flashing, gutters, and underlayment for signs of damage, wear, or potential leaks. At this stage, the contractor will identify any underlying issues, such as water damage or mold, that may need addressing during the replacement.
Step 2: Choosing the Right Materials
Once the initial assessment is complete, the next step is selecting roofing materials. Homeowners can choose from various options, including asphalt shingles, metal, tile, and slate. Each material comes with its benefits, from durability to aesthetic appeal. Your roofing contractor can guide you in choosing materials that fit your budget, climate, and design preferences. This is an excellent opportunity to weigh the pros and cons of each material to make a well-informed decision.
Step 3: Preparing for Roof Removal
Before installation begins, your home and property need to be prepared for the removal of the old roof. Roofing crews typically set up tarps and protective barriers around your home to catch debris. This step ensures your landscaping, windows, and outdoor spaces remain clean and undamaged. The crew will then remove the old shingles and underlayment, exposing the roof deck for inspection.
Step 4: Inspecting the Roof Deck
Once the old roofing materials are removed, the next step is thoroughly inspecting the roof deck. The roof deck is the underlying layer that supports your new roof, so ensuring it’s in good condition is essential. Any signs of rotting wood or damage will be addressed at this stage, and new decking will be installed if necessary. Addressing these issues now prevents future problems and ensures a strong foundation for your new roof.
Step 5: Installing the Underlayment
After inspecting and repairing the roof deck, the next step is installing an underlayment. The underlayment is a moisture barrier and helps prevent water from seeping into your home. Depending on your climate and the type of roofing material chosen, synthetic underlayments or felt are typically used. This layer is crucial for preventing leaks and improving the roof’s insulation.
Step 6: Shingle or Material Installation
With the underlayment, it’s time to install the new roofing material. Whether you’ve chosen asphalt shingles, metal panels, or tile, the roofing crew will work systematically to secure each piece according to the manufacturer’s specifications. This step is critical to ensuring the roof’s durability and longevity, as proper installation techniques prevent water infiltration and withstand harsh weather conditions.
Step 7: Flashing and Sealing
Flashing is a thin, protective material placed around roof features like chimneys, vents, and valleys to prevent water from penetrating the roof. Properly installing flashing and sealing around these vulnerable areas is essential to avoid leaks and enhance your roof’s resilience. Your contractor will also check all other seals to ensure your new roof is airtight.
Step 8: Final Cleanup
Once the roof replacement is complete, the roofing crew will clean up all debris and inspect the surroundings for nails or other materials that may have fallen. Professional roofers prioritize leaving your property as clean as it was before they arrived, ensuring no materials are left behind.
Step 9: Final Inspection and Walkthrough
A final inspection is the last step in the roof replacement process. The roofing contractor will assess the installation to confirm that everything meets local codes, manufacturer requirements, and high-quality standards. They may also walk you through the finished project, explaining any specific maintenance tips and ensuring you’re satisfied with the results. This is a great time to ask any final questions and clarify how to care for your new roof moving forward.
Understanding the Roof Replacement Process with Homegrown Roofing and Contracting
At Homegrown Roofing and Contracting, we understand that a roof replacement is a significant investment, and we’re committed to ensuring every step of the process is transparent, thorough, and tailored to your needs. Our team works diligently to provide a seamless and stress-free experience from the initial assessment to the final inspection. Contact us today to learn how we can help with your roof replacement and provide a durable, beautiful roof you can rely on for years.
